I have been looking for a bus to convert into a motor home for some time now. I have researched the various types of buses available and have decided on a Hino Rainbow RB145. There are various reasons for this choice, the main one being that the RB145 is a rear engined vehicle, so less engine noise when travelling. It will also enable us to install swivel seats at the front of the vehicle, which will help with the internal design and fit out.

We have found our future home on wheels (good old ebay). She is a 7 mtr Hino Rainbow RB145, 4 Cylinder, 5 speed manual, 3.8 litre turbo diesel. Year of manufacture 1987.
She drove the four hours from Albury without a hitch.
We hope to eventually travel around Australia in her, If and when I ever get her finished

So what have I got myself into? I am a carpenter by trade, so the thought of 12v electrics, solar power and diesel heaters fill me with dread.
We had both decided that the side windows (non openers) would be removed and replaced with wind out openers. We can get some horrendously hot days here, 40 degree days in summer are not uncommon. The thought of living in a glass and tin box is not an option without opening windows.
So let battle begin.

I have ripped all the internals out of the bus, this will allow me to run the various cables I will need. I will be installing 240v as well as 12v wiring. I have removed all the original 24v wiring back to the front of the bus. All the public address speaker system has been removed. The vehicle air conditioning pipe work is shown on the right of the picture. it is not working at present but I intend to get it going again before we travel.

Passenger side showing the old fibreglass insulation that will be roomed and replaced with space age insulation called Aircell, this will be in 2 layers with bubble wrap between the layers.
The vehicle dash board has some serious damage that will need repairing. By the time we have finished with the dashboard, it will have been removed from the bus three times and had three different colour schemes.


Twenty two years of dust and grime seems to get every where. Time for a spring clean and also work out which wiring to keep and which to throw. I will hopefully have spare 24v cables to service the appliances near the front of the vehicle.


Now wires are not my forte, In fact i really don't have a clue. Time to buy a multimeter and have a crash course in its usage.

These switches are located on the drivers right hand side. They enable the vehicle's air conditioning (not yet working and has been de-gassed) and the vehicles heating system. A lot of the heating system has been removed (vents and the like)prior to its import. i will be removing the burner unit to create space under the bus for a grey water tank.

The switch panel is also located on the drivers side, having traced all the switches back, they are mostly for the 24v roof lighting and i will decide later as to whether they will be needed or not.

A certain amount of rust was found once the coach windows were removed, thankfully it was not major and I was able to do the repairs myself.


All nice and shiny again and ready for a lick of paint.

Looking as good as new now, all rust removed. repaired where needed and with a blathering of paint. All ready for external walling and new windows


New Diabond walls have been installed and are now awaiting the new wind out windows. The panelling has been attached with oodles of Sikaflex. At least she is now water tight once again.

AirCell Insulshed 50 installed, single skin to start with and followed by another layer with a double skin of bubble wrap between, made into batts and fitted to all available spaces. New 4 ways hatch fitted.

The bathroom space has been decide which allows for the extractor fan installation.
I managed to get hold of a pair of Mitsubishi Delica seats, however the poor Delica had been for a swim in a river and needed some major cleaning. We bought a steam cleaner and got to work. The seats came up a treat.

This is the passenger seat in the rear facing position

The lever that would normally allow the seats to revolve has been cut off (Aussie regulations apparently) before importation. A makeshift addition to the severed cable works fine.

Both passenger and drivers seat swivelled and now facing the rear of the bus. I have plans to install a small dining table in front of the drivers seat, with a small bench seat opposite that will house the house batteries. The dashboard has been repaired and is back in place, although it will be back out soon.

I removed the passenger lap belt and fitted a three point seatbelt at Andrea's request, as there were no internal anchor points I had to fasten the points externally. Not a major issue and a lot safer now.

I now wish I had turned this anchor point around on the seat sliders. It would have given me an extra 25mm of clearance when swivelling the seat past the hand brake.
I initially did the fit out using raw MDF with sections routerd out from the panels where I could. This would obviously reduce the overall weight and hopefully not alter the integrity of the unit. I had just about finished the internal cupboards when I stumbled onto a light weight board. Maybe a rethink is in order.

Cabinetry constructed in 16mm MDF, sanded and painted and still heavier than I would like. Andrea requested as much bench-top space as possible. We have seen far too many Motor homes with tiny worktops which are virtually impossible to use.

The two similar photographs depict cabinetry manufactured using MDF (top) and the replacement cabinetry using Freefoam.
Freefoam ticks just about all the boxes as it very light, very strong, and easily fabricated. You can cut it with standard tools. It can be planed (both hand and electric). It can be routered and also painted although we have opted to keep it all white.
The only downside to this product is the thicknesses available. 13mm or 19mm, Ideally the 19mm would be better but there is the added weight to consider as well as the 6mm difference when it comes down to space. The 13mm is the way to go, as long as I am aware of the issues I will face when drilling for hinges.

Pantry unit next to lift up bed base and attached to bathroom (drivers side of the vehicle).

This will be Andrea's cupboard in the centre of the Motor home and under the bed base.

Even Casper will get his own cupboard well at least one and a half drawers of this unit. All the units will have pull out, lightweight baskets (passenger side of the vehicle).

The next cupboard along from Casper's is the waste bin and detergent cupboard housed neatly under the sink. The bin is a pull out with easy access to facilitate emptying (passenger side of the vehicle).

Soft close cutlery drawer above a four basket unit (passenger side of vehicle).

This is the four drawer unit under the cutlery drawer and will be utilised to hold the majority of our foods stuffs. With heavier tinned goods held in the bottom basket and lighter goods housed above (passenger side of the vehicle).
By keeping the heaviest products at ground level throughout the build will aid the stability of the vehicle. The Hino Rainbow RB145 is notorious for swaying whilst on the road, this is something I will address further down the line.

The second to last cupboard within the kitchen run will be the crockery cupboard and by utilising a product called Echo panel we will be able to stop the dreaded rattle that a lot of Motor homers have to put up with. Echo panel is a recycled product with immense sound deadening properties.


No more rattling crockery for us !

 The final cupboard within the run houses the oven/grill and cooktop. It will also be home to our deep pan drawer (passenger side of vehicle)
The cut out at the back of the drawer is to allow the fresh water filler pipe and breather pipe passage to the underside of the Motor home. It is around here that i will install our 75 litre fresh water tank. It will actually sit in the centre of the bus again to aid stability.
I briefly mentioned a product called Echo panel earlier which I used to eliminate the rattling of crockery, I have also decided to use the product throughout the underside of the bed. Its acoustic properties are just what is required to keep the engine noise to a minimum.
 This is the space under the lift up Queen size bed. We will no doubt use every inch of this space. To the left of the photo is the suburban water heater (gas and 240v) and just in front of the heater in the inlet for town/city water, this will bypass the fresh water tank via a none return valve and be under normal house pressure.
The grey box on the right of the photograph houses the external stainless steel barbeque.


I have sited the tropical rated fridge opposite the cooker and behind the drivers seat. To the left of this unit I intend to install a dining table that will slide back and forth allowing 2 people to sit at it for meals. I will also house my house batteries to the left of the end panel and under the proposed bench seat.
There is at present a microwave installed above the fridge, whether this will be in the final fit out remains to be seen? It does take up a lot of spacefor something we don't use a lot and maybe the space could be used more effectively.
The space past the right hand side of the fridge will house our electrical panels/fuse boxes, a space for fresh water and a drawer unit. The drawer unit will consist of his and hers shoe drawers and a laundry bin (both yet to be designed.
Past this space there is a tall end panel, this is the left hand end panel of the bathroom module.

We decided to purchase a modular bathroom consisting of shower tray, hand sink, toilet back panel and wall cupboard. The bathroom space is small however by using 3mm perspex mirror the illusion of space is created.


Andrea is very impressed with the bathroom and I have to say it has come up a storm, It is just apity that the plastic modules don'y go together as well as they should and a fair amount of adjustment is needed to get the desired effect.
The dash board has been removed more times than I like to remember, it has now changed colour three times and has had additions made. I really hope this is the last time she will be coming out, that said I am pretty much a dab hand at it now.


Basically what happens is the alternator charges the starter batteries and a few moments later pushes power via the SB124 to the Redarc charge equaliser and into the 12v house batteries. That way when we switch fridge power to 12v we have a continuous 12v supply to the house batteries via the alternator.

Drivers side of dashboard showing 2 GPS. reversing camera's monitor, a tyre monitoring system and our new ipod ready music system. We have also a 12v and 240v outlet.

I originally fitted a Tv flat against the fridge end panel, unfortunately the viewing an

The microwave has been removed and replaced with a cupboard which will hold our laptops and so forth. It is also a great place to situate the Vast set top box for our satellite TV.

We deliberated long and hard as to which flooring to choose before we settled on good old fashioned vinyl flooring. I spent many an hour producing paper templates of the floor layout before getting to the final cut. Trying to lift it into the vehicle and lay it in one piece was a work of art. I am glad to say that it laid perfectly first time with approximately 1.5mm clearance in any direction.


The foot wells and wheel arches were a bit of a challenge but have come up well, I have also covered the seating slides in matching vinyl.
Once I had laid the flooring I could get on with what every man need and that is a tool shed? Well actually mine will be a scaled down version and will consist of tools that I may need to hand on a regular basis.


Entrance step complete. Pull out aluminium first step installed, aluminium lined stair well and hidden tool box under step.

We did a lot of research about diesel heaters before before deciding on one for the bus. We plumbed for a Webasto airtronic 2000, bought from the UK at nearly half the price of an Australian model. Installed behind one of my clothes drawer. Yes i will lose halve of my storage, but the benefits will outweigh the losses. This will be installed in the cupboard below the fridge and will be hosed out of the battery housing bench seat.


Heating vent passed through the house battery unit which is below the bench seat next to the fridge and dining table.
-------------------------------------------------------
A few weeks before Christmas 2012 I was invited to a dinner with Andrea (a works do) where we met a wonderful Scottish couple called Arlene and Steve. Having done the usual introductions I got chatting to Steve and learnt that a previous job of his was as a diesel mechanic. I did warn him that he may become my best mate, explaining that I was converting a bus. Steve was more than happy to help with any work the bus needed and promised to pop around for a look see. The friendship was made. A little later on I mentioned a few jobs still needing doing on the bus, the biggest being the external paint job. i had already decided that I would hand roller the bus with Yacht paint, tipping off with a brush. i had done a fair amount of research on the subject and thought it was something I could do myself.
With a sly grin on his face Steve answered that it would be better to spray the bus in 2 pac. "Oh and did I mention my brother Damon?" Well he hadn't at that point. "No I replied what does Damon do for a living?" "Oh he's a paint sprayer!"
I nearly fell off my seat. So in one fell swoop I have found 2 new mates who are both happy to help me with the bus. Arlene and Steve gave us a lift home that night and had a quick look at the bus, They thought it was great and promised to return at the weekend to have a closer look in daylight. I awaited in anticipation. True to his word Steve and Damon arrived Sunday afternoon. In Damon's Thickest Scottish brogue said "Aye s'not a problem at all, we can do this".
Plans were made and deadlines were set, all we had to do was find somewhere with a spray booth big enough to swallow the bus. Steve once again came to the rescue and found a local spray booth who would charge me $300 a day for its use. Now all I have to do is prep 7 meters of metal for a lick of paint.

12 days of Xmas indeed, It took me 12 days to prep the vehicle with only Christmas day off. There was a fair bit of damage down the passenger side sill that needed beating out (this was never done in the first repair) and filling.

I managed to get the huge windscreen out with a bit of trial and error, poor Andrea's face was a picture as she stood in front of the thing ready to catch it, if it fell.

Anything that could be removed from the bus was, doors, flaps, handles, bumpers and the like were treated and refurbished seperatly. Turning the engine over whilst a blanket is keeping dust out is not a good idea. A lesson learnt there then!

The sides of the rear bumper were in a terrible state and although I attempted to salvage them, I admitted defeat and passed them onto Damon.
All prep work done and the lads, Steve, Damon and Regan (Steve's son) have arrived to do the fist course, today will be application of the stone guard.

She doesn't look too cracking at the moment but have been assured that when done she will be the bees knees.
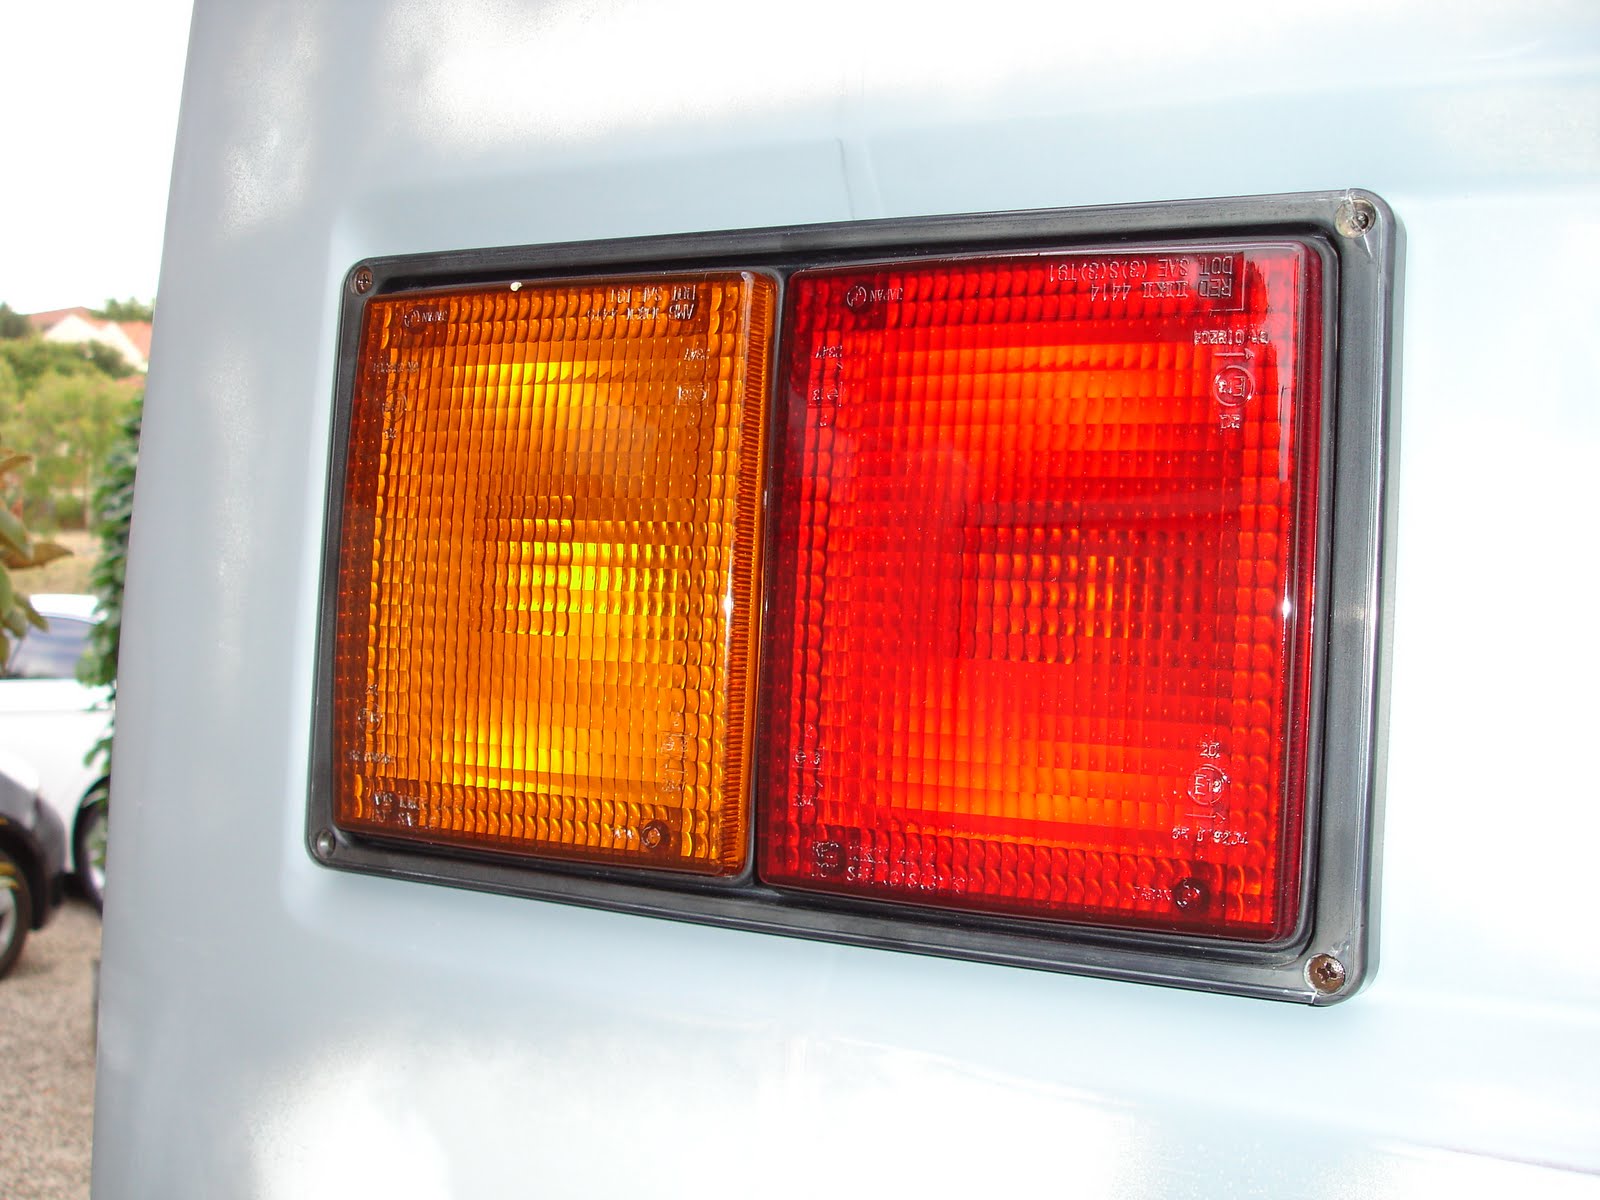
Lenses have been refurbished (lots and lots of elbow grease) and have been replaced for the drive down to the spray booth. The windscreen has also been replaced and will be taken out again once in the spray booth. Getting a dab hand at this now.

The day after Australia day and the lads never let me down, Damon, Steve, and Regan all turned up at the booth for a days work. Masking and final prep is the order of the day.

Regan doing his bit and I have to say it was a pleasure seeing someone so young, being so eager to do a days work. This young man will go far I am sure.

Steve hard at it with last minute touches on the panels, you can see where his son gets his work ethic from.

Damon had decided to paint the bus wet on wet ! When the spray booth owner heard this he stated that it would be impossible due to its size. He obviously didn't know Damon or his ability. Damon was like the proverbial whirlwind and as fast as we mixed the paint he was applying it.

Up and down he went like a man possessed, a whirling dervish with a spray gun in his hand. i was well out of my depth and suppose, sometimes you just have to leave it to the experts.

Back home all nice and shiny awaiting more work in a weeks time once she hardens off a bit.

A week later and the boys are back again, today will be the silver lining so to speak. The whirling dervish is at it again and makes short work of the silver spraying.
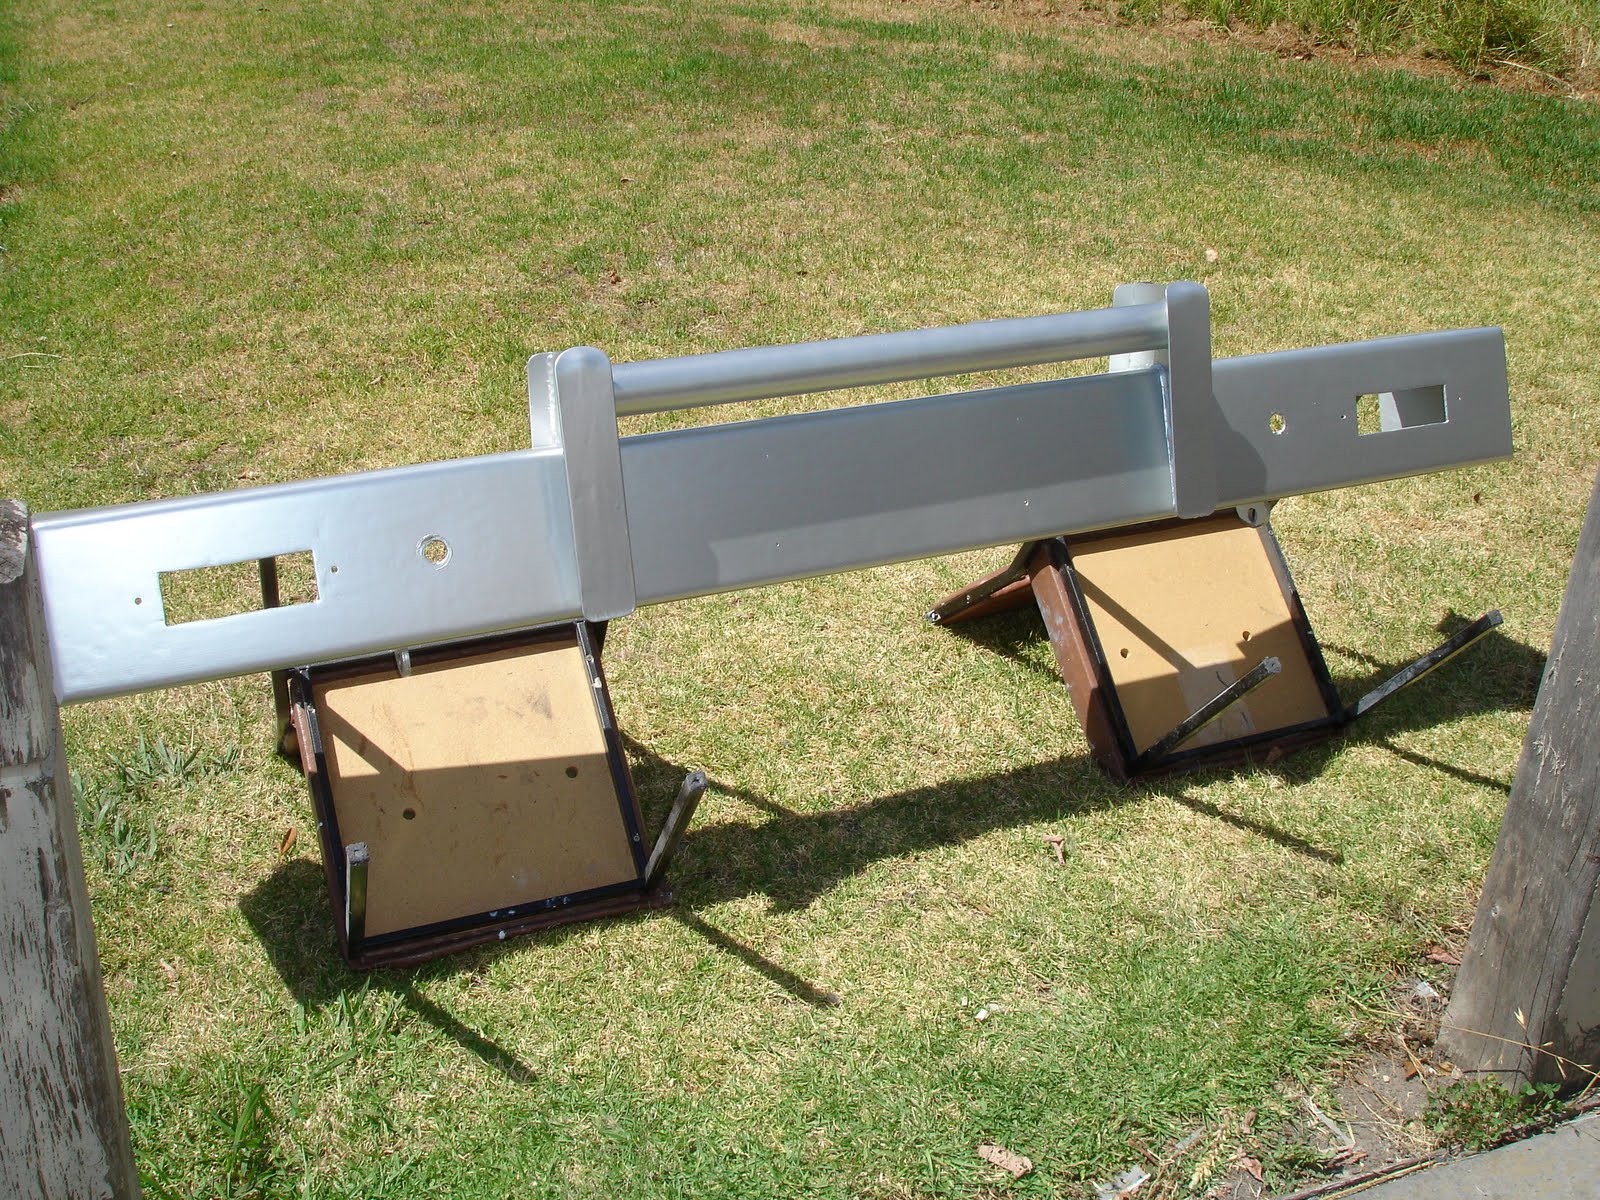
Even the newly chopped down bull bar got a good licking of silver paint. The colour scheme is to match the Daihatsu terios we will be eventually towing.

Damon doing what he does best !

I applied the graphics and we are nearly done.

She really does look great in her new colours and the debt of gratitude I owe the lads is enormous. I am so very grateful for all the time and effort they all put in.
Cost?
$850 for paint
$100 for sundries
$300 hire of spray booth
One barbecue for Damon, Arlene, Steve and their three boys, Aaron, Ethan and Regan.
Total cost was approximately $1250 with a total saving of around $10,000
Mine and Andrea's thanks to all concerned.

Now you remember the rear bumper ends, that I tried to refurbish and couldn't. Well this is why I gave them to Damon !
Hi guys. I believe I have seen your bus when travelling along Golf Links Rd and I am pretty sure that the spray booth is a friend of mine, John Leishman in Carrum Downs. We are doing up (mostly getting done up) a 145 ourselves and am enjoying your posts.Have you had anything done to your springs? I noticed that you mention that they tend to sway. Driving ours is a nightmare when it starts to rock. it feels like it is top heavy and wants to tip over. Do you have any helpful ideas/fixes?
ReplyDeleteJohn
Hi john
Deletefeel free to pop in and say hello, if there is anything I can help you with i will try my best. My swaying problems are sorted as I put on a larger rear sway bar. Mine was a nightmare but very happy now
regards Chris
Hi there, just wondering where you fitted the gas cylinder?
ReplyDeleteSorry to take so long , I put my gas bottle in the rear bin passenger side. It takes a 9kg bottle nicely.
DeleteIf you need more info just let me know
Cheers Chris